AR Invoice Creation REST API in Oracle Fusion: Part 2
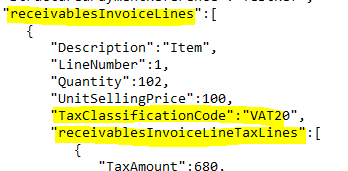
If we don’t need to insert some additional columns we can either remove or put null. As below I’m just removing the Columns ‘ TaxClassificationCode' and the Complete portion of 'receivablesInvoiceLineTaxLines' inside that.
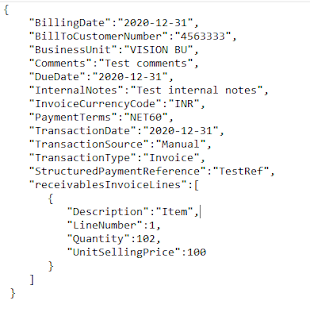
Here below is our final Request Payload , which we will use to create AR Invoice. Copy this Payload and put it in SOAP UI.
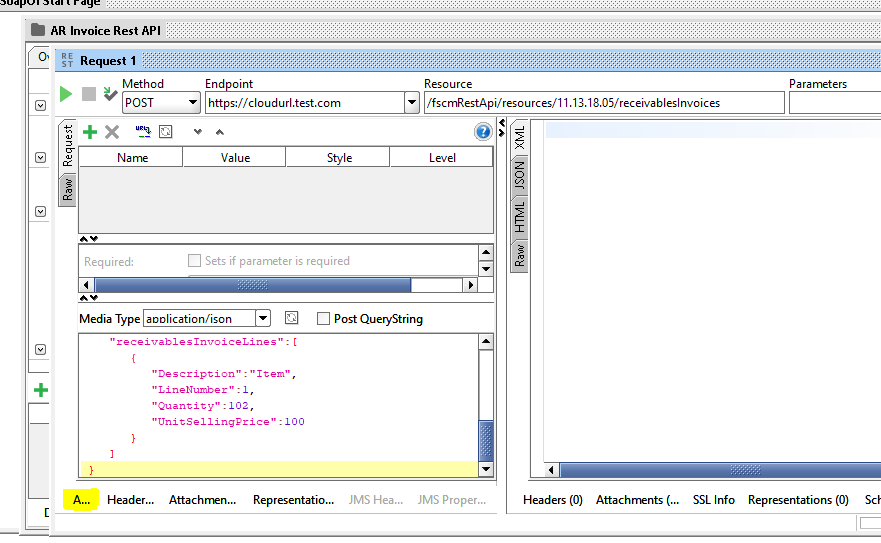
Step 11:- Here Highlighted below, We have
to put the Request Payload which we created in the Last step.
Step 12:- Here below is
our Request Payload and we put it in the SOAP UI.
Step 13:- Now , we need
to create the Authorization. In the SOAP UI footer, You will see
,Header..,Attachment….
Before this there is
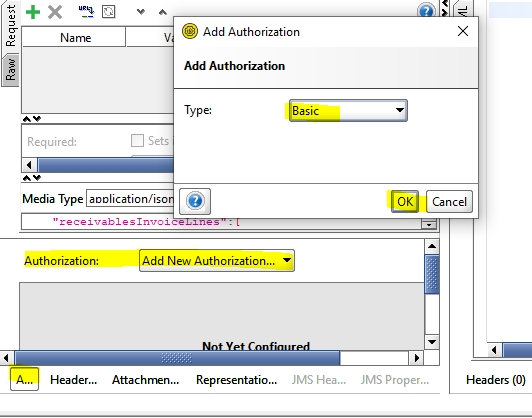
‘A..’ as below. Click on it. Now it will pop up this below message.
Select Type: Basic.
Click: OK Button.
Step 14:- Here below, We
need to enter the User Name and Password.
Note: Please enter your
Oracle Fusion application Username and password. Another thing , If you are
using the AR Invoice REST API to create the AR Invoice , your Fusion user
account should have the AR roles also to create the AR invoice from front end
application.
Step 15:- Now click on the ‘Green arrow’ to execute this Rest API. You will see the REST API response in the right side of the SOAP UI.
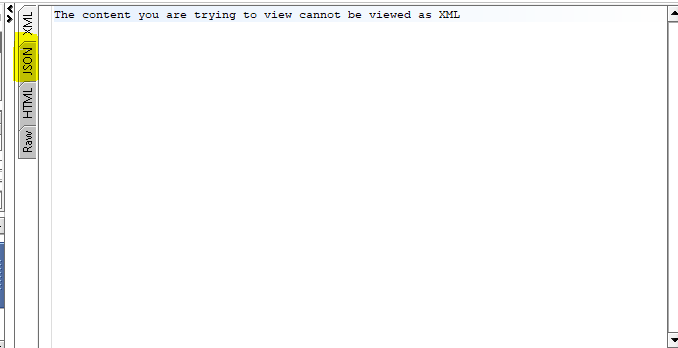
Step 16:- By default , XML is the response format , so it showing this below message. We need to click on the json option as highlighted below to see the REST API response.
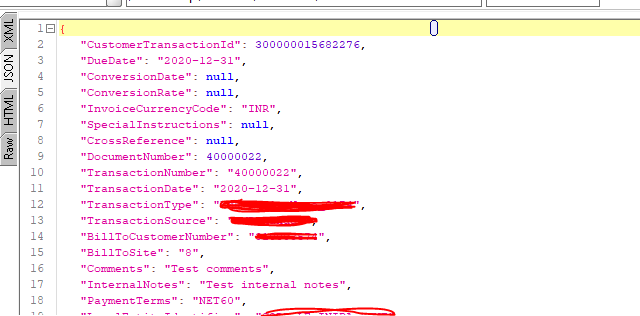
Step 17:- After Clicked
on the JSON, we can able too see the REST API response. This AR Invoice REST
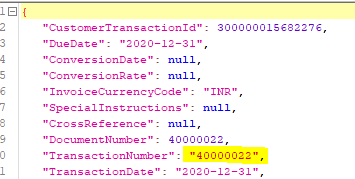
API has created the AR Invoice and here below is the response from REST API
after creating AR Invoice in Oracle Fusion application.
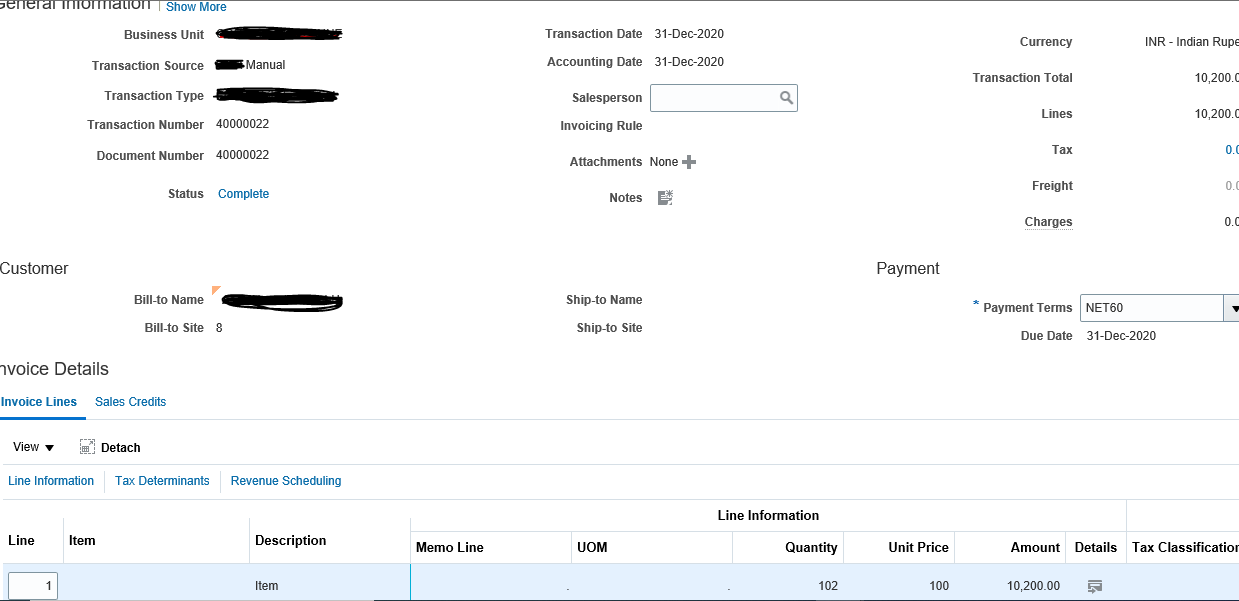
Here below is the AR Invoice Created from the REST API.






2 comments:
Devops course
Nice article with such a great information. Learn more about devops course and also many other courses to get the best knowledge.
Post a Comment